Tuesday, January 25, 2011

Vintage Cover Up for Children

 This lovely vintage daisy fabric is perfect for this little cover up. I managed to find a matching daisy border to give it just the missing touch.
 On the ends of the tie strings I attached two daisy buttons to keep the tie string from slipping out.

 What a wonderful way to keep your child's clothes clean. And she looks adorable in it too! After use, simply toss the soiled cover up into your washer and re-use again. 
This cover up will be available in my Etsy Shop on Jan.25. Look for it :)

Check Book And Credit Card Holder

 When I was looking for a check book cover I discovered it was not an easy thing to find. Either I could only find a matching wallet set where the checkbook fits into the wallet, or choices of color, style and price which were not impressive. So I wondered how difficult could this be to make a check book cover. To my surprise it was not difficult at all. My daughters liked this coffee pattern fabric, and it turned out just beautiful.
 There is plenty of room for your checks and checkbook ledger. And the little credit card holder matches the checkbook cover. How cute is that!!
 
This set will be available for purchase at a very reasonable price in my 
Etsy shop starting tomorrow, January 26th.


Wednesday, January 19, 2011

A New Look for an Iron Board

 This is what the finished product looks like. I'm pleased with the outcome.
 I found this old stained iron board in a thrift store for 1 dollar. A small iron board comes in very handy for small sewing projects. And I was exited when I found one for a price I could not say no to.


It was pretty much in need of a new look.

 It is really very easy to make a new iron board cover. Just lay your iron board up side down on your desired fabric and batting, cut around, adding  4 inches all around.


 Machine stitch all around leaving a opening of about 4 inches at the straight end. Turn the cover right side out and press. Machine stitch 2 inches in from the edge all the way around .
Attach a safety pin to the end of a ribbon, and thread it through the opening on the straight end, all the way around. .


 Lay the cover over the iron board and pull the ribbon to gather. Secure with a bow.
 It looks like a brand new iron board, at leased new to me :)  And if it gets soiled, I will just untie it and toss into the laundry and re-use it again.

 I also gave my older larger Iron board a new cover.

Friday, January 14, 2011

Master Bed Room Walk in Closet

This is the walk-in closet I share with my husband. It is not very big but do we really need all this stuff? So I've been told that every women has a fetish can you guess mine - purses and wallets. I don't know why but it is true. Here we have His and Her side, and a mess. It's time to de-junk.
Much better I went through my clothes and you guessed it my purses. It's so much more relaxing and freeing.

Menu Planner Make Over

One of my goals was to make a menu planner week by week. First, I asked all my children and my husband what meals they would like to see in this meal plan. I think my husband won; he gave me so many meal ideas I could not keep up with writing them down. Second, I wanted something practical and useful to hold the menu plan. I found this very old looking wood recipe holder in a thrift store. Some paper and glue and I gave it a new look - it was quiet ugly. My daughter gave me some of her scrap booking papers and after cutting, gluing and whole punching her it is.
I like things that look cheery, flowery and have Spring colors.

This is so efficient and sits right on your kitchen counter as you cook. And it doesn't take much counter space either!


I also wrote the items I need for each recipe on the end of that recipe. That makes it easy to write down my shopping list for each week.


I can add as many weeks as I like and re-use the weekly meal plans over and over again. My hope is to try out two new recipes per month and if it's met by the family with approval it will go into our meal plan permanently.
Please share some of your ideas for meal planning or recipes.

Wednesday, January 12, 2011

Our Bedroom

So I have to confess that I did not want to take pictures before I cleaned out my bedroom, it was too embarrassing. Our bedroom is also my husband's home office and my desk area. With five children still living in our small four-bedroom home, it takes some creativity to make it work. I was trying to create a haven of rest for my husband and me to escape to.  I was ruthless when I cleaned out today. The proof is in our garage which will be cleaned out by the end of this month. 


 Both sides are occupied by desk spaces.

 This little corner is for quiet moments with the Lord or just to read for enjoyment. :)


Monday, January 10, 2011

My 47th Birthday

Saturday the 8th of January was my 47th Birthday and I was blessed beyond measures. My family has made this birthday a sweet memory I will cherish forever. This is what I woke up to in the morning.


All of my children showered me with thoughtful gifts and lovely hand written cards. I cried.
 My sweet Husband had a surprise for me waiting at a near by thrift store.  We drove there after we looked at doggies at the Orange County Animal Shelter. Look at this beautiful unique sewing/cutting table!!!!!
The black line is actually a cutting guide for cutting fabrics; I have only seen this in fabric stores on their cutting tables.

I can't believe he only payed 20.00 dollars, HE IS AMAZING!! It will be perfect in my soon to be sewing room. :)

To be considered a friend by my sweet daughter Stephanie (18) was a special blessing to me. To find the balance between being a mother and also a friend for all of my children is always a challenge.


My dear friend Sandy made me this delicious and healthy Birthday cake. It was wonderful. Thank you again Sandy.

 She also gave me this book by John MacArthur. Here is my book for the month of January to read - one of my goals in 2011.


I had so much fun, and wanted to thank my friends and family for all the special birthday wishes and gifts. I am truly blessed. Thank you Lord.

Friday, January 7, 2011

Change.....Live with Less!!!

This year it's all about change as we work to simplify our life in every area.
For the first time ever I sat down and wrote out my goals for the different areas in my life.

Here they are:


Personal Goals:

  1. Wake up with a purpose everyday.
  2. Memorize one verse a month. (I'm not very good at memorizing, so this is a big one for me!)
  3. Read through the "One year Bible"  (in one year).
  4. Read one book a month. (I love to read so this will be easy.)
  5. Walk at least 3 times a week with Melanie, my lovely daughter. (We actually started this near the end of December and are already reaping the benefits.)


Homemaking:

  1. Clean out and de-junk our home; be ruthless.
  2. Wash 2 loads of laundry a day.
  3. Prepare and use a weekly menu plan.
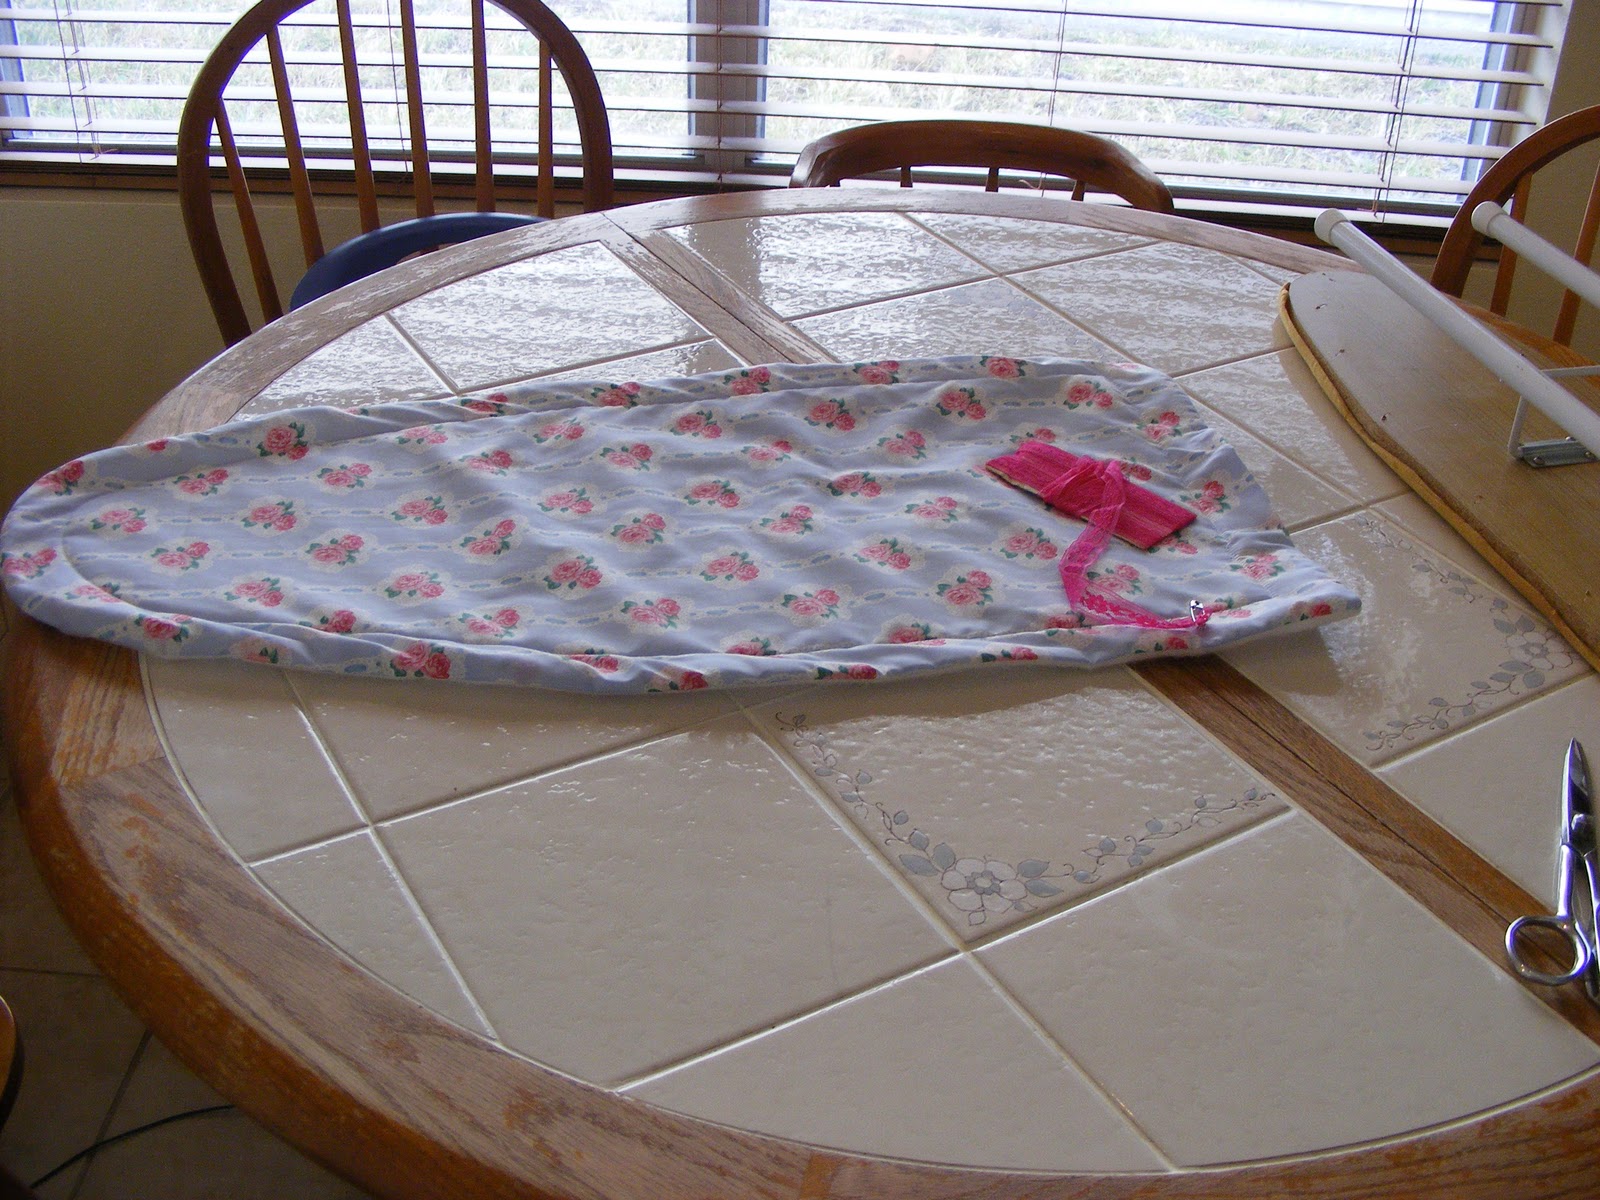
  4. Sew for my personal/family needs every two weeks.
  5. Keep the refrigerator clean and organized. (You'd be amazed what our family can do to this refrigerator in such a short time.)


Responsibilities:

  1. Be faithful with Home-schooling everyday.
  2. Stay within my grocery budget.
  3. Sew for my Etsy Shop 2 times a week.
  4. Stay Home .....the less I'm out and in stores ...the more I save :)


Husband:

  1. Pray daily for him.
  2. Plan a date night twice a month.
  3. Respect and encourage him.


My Children:

  1. Pray daily for them...that they will love the Lord with all their heart, soul, mind, and strength.
  2. Stick to a bedtime routine. (It's so difficult to do this with six children ages 23 to 4.)
  3. Less junk food.


Home Improvement:

  1. BE CONTENT!
  2. Fix sink cabinet (instead of a new kitchen :).
  3. Set up sewing room when Timmy moves out.
  4. Install second oven in the kitchen (Found on Craigslist for a super deal).
  5. Finish painting the living room; (we do not like to paint, my husband said he would rater be poked with a hot stick....you know the rest :).
  6. Clean out garage and have a large garage sale. (I have already started my clean out and the garage is getting filled up.)

I showed these goals to my husband for his opinion, I value his input greatly.  He is the master of  lists and spreadsheets.  I asked if these goals were unreasonable and he assured me that the are not.  Thank you Love.

Now, I'm sharing these with you for a few reasons.  My aim is certainly not to say "look at my goals, see how great I am."  But rather to encourage all of you "non-list makers" that it is helpful if you write things down.  Also, it's important that you make realistic goals and share them with others for help in accountability.  It doesn't mean much if we only keep our goals or resolutions to ourself.  We are usually too easy on ourself and without writing them down and sharing them, we often let ourselves off the hook if we fail to keep goals and/or resolutions.  Also, by sharing these with you, there is even more accountability for me to try to keep up with them.  I won't mind some loving nudges, prayer and encouragement from you throughout the year as I know I will grow weary.  (Gal. 6:9)

I will post room by room clean outs and improvements as well as my struggles and victories as the year progresses.

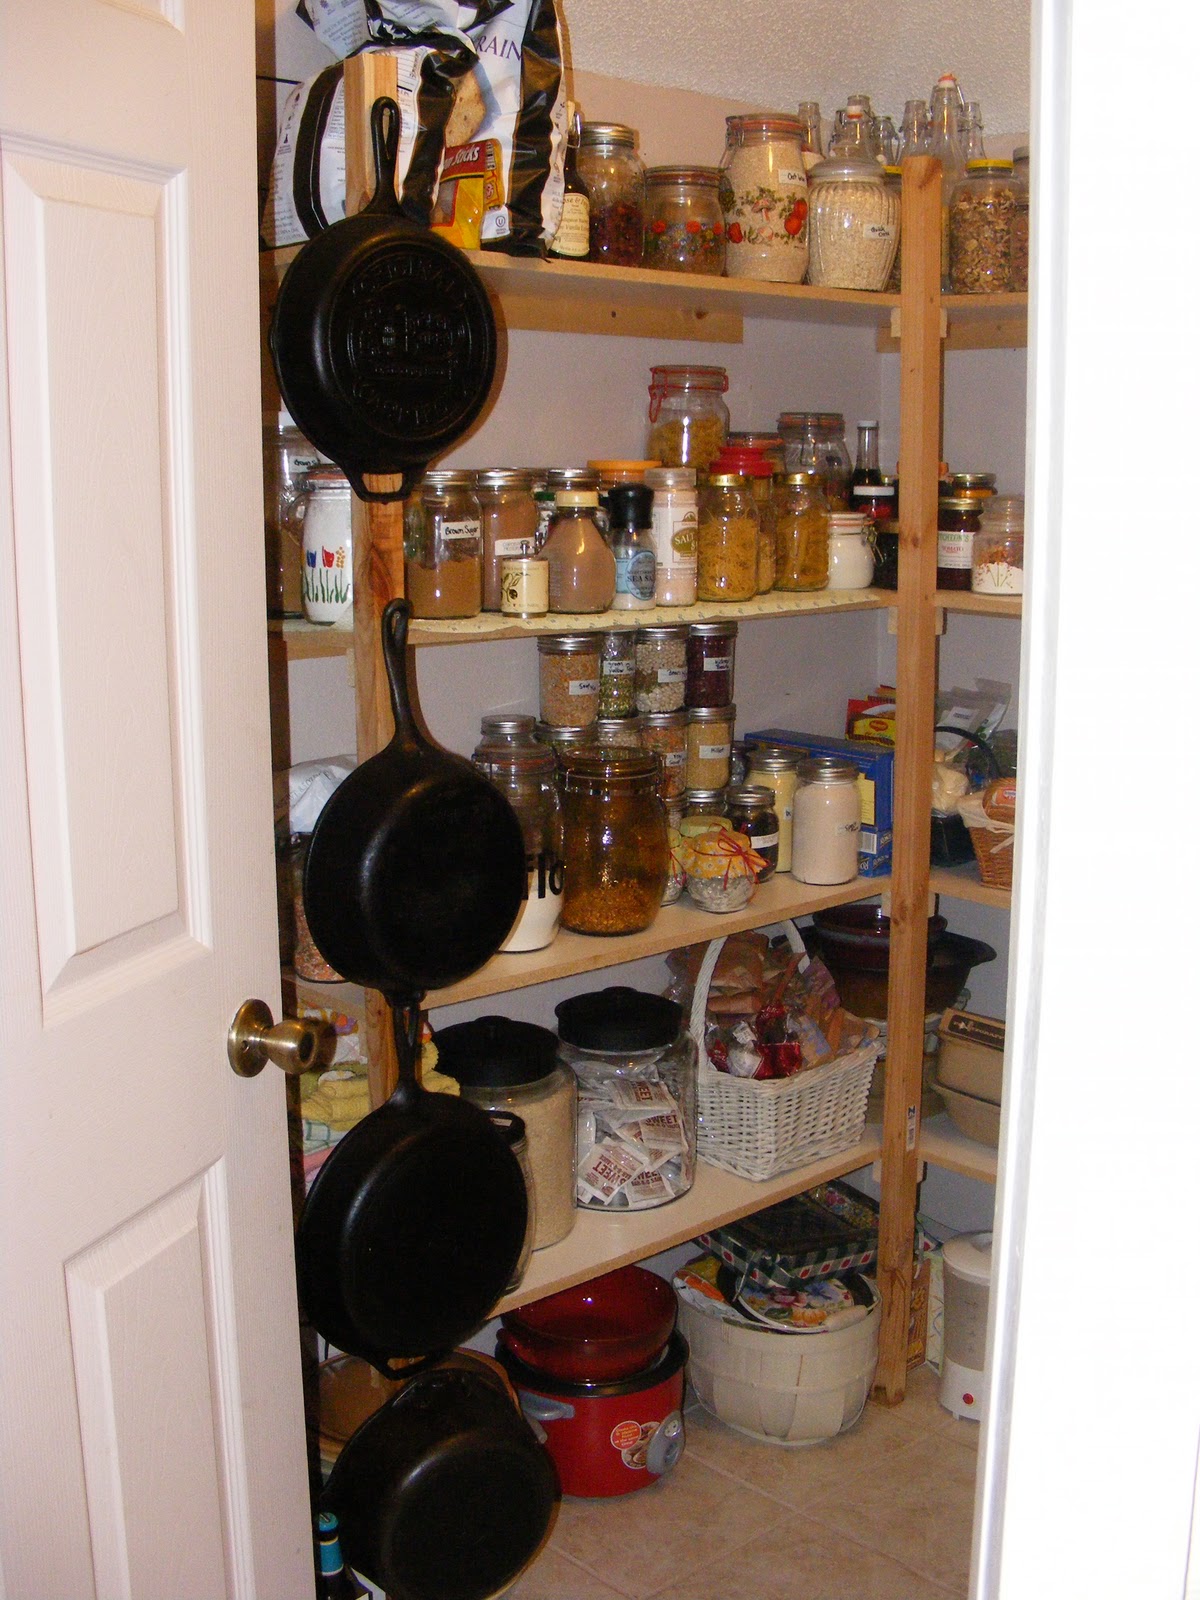
I'm starting in my kitchen.  Here we go with "THE PANTRY" 


What a mess and some stuff I really don't need.  "BEFORE"

"AFTER"


Much better.
(Got it done yesterday but not without a ton of interruptions :).
I try to put most everything in glass, mason or applesauce jars, or any other big enough jars I can find in thrift stores.  It saves money and is much healthier than plastic products,  not to mention it will keep bugs out of your food. 


Tuesday, January 4, 2011

Bread and Snack Bag Tutorial

For all you Do-it-yourselfers, here is my first tutorial.  This video will show you step-by-step how to make the reusable bread bags and snack bags.  Check it out.  Click the picture below to watch it on Vimeo.

A Gift.......... to a person who has everything

 What do you give to a friend who has everything when it's her birthday? That's what I thought and thought about as my dear friend's birthday was coming up.  Then I remembered a long time ago my sweet friend Jenny taught me how to "Tatter."  It was hard to learn in my case, since you have to use your fingers in a different way then when you crochet or knit, and I was use to crocheting and knitting.

I think my friend Helga really liked her present. Sometimes the simplest gifts speak louder then anything else.  You can get very creative with tatting; it's been around a long time. You can find several tutorials on Youtube.


I think this will be a nice little border for a summer dress for Lilibeth, we will see :)


Related Posts Plugin for WordPress, Blogger...